

Shopware 6 - How to use Store API to Register and Login a User
This article will explain how you can use Swagger to explore the Shopware Store API and then successfully register new customers and log them into their new accounts.
- How to get Swagger working
- How do I get the sw-access-key?
- Summary of necessary steps to use swagger
- Register a Customer and Login with Swagger
- POST/account/register
- POST/account/login
- Double opt-in workflow and differences to normal registration
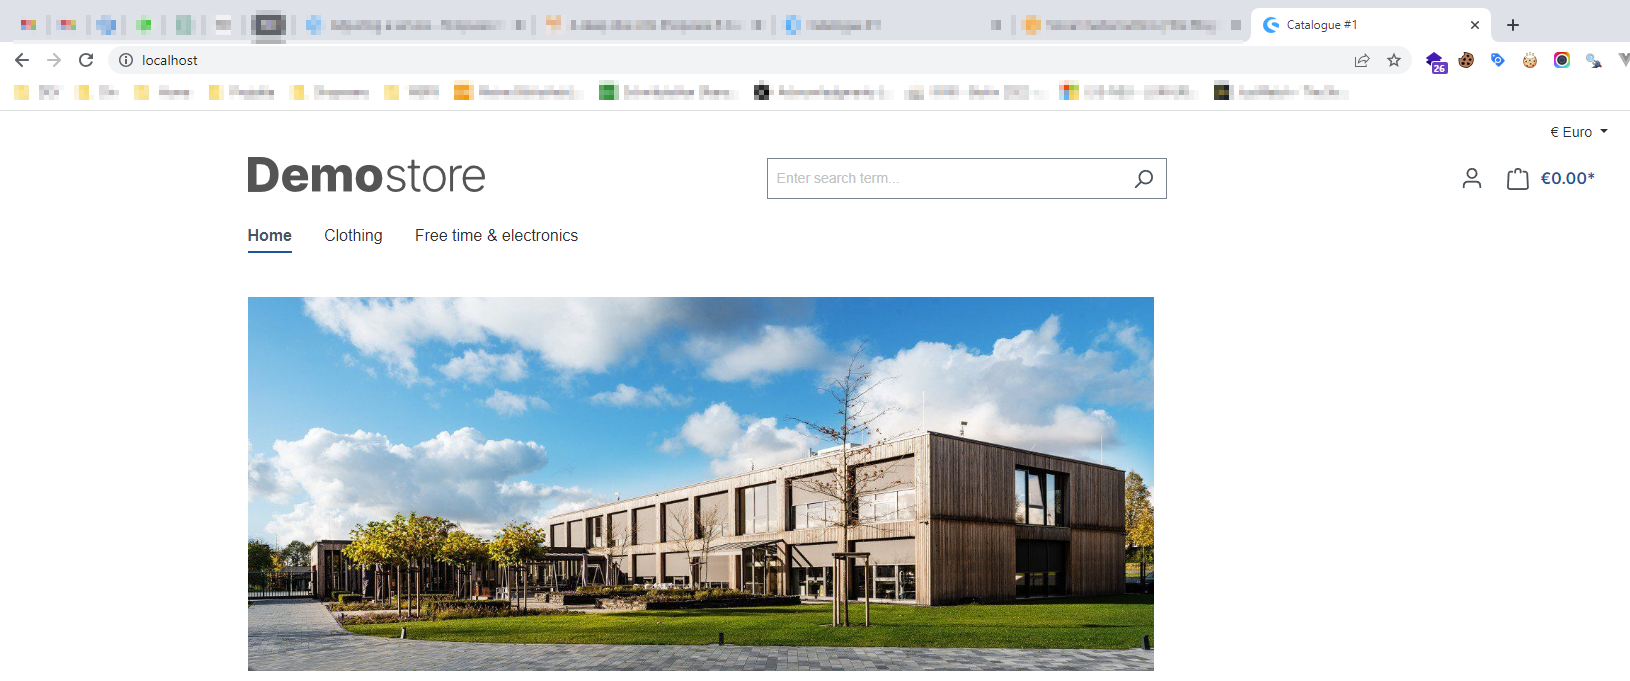
Prerequisites: First, get your local environment up and running. Most likely this will be some sort of Docker setup. Check that your local environment is running by going to localhost. It will show your demo store or any other store.
How to get Swagger working
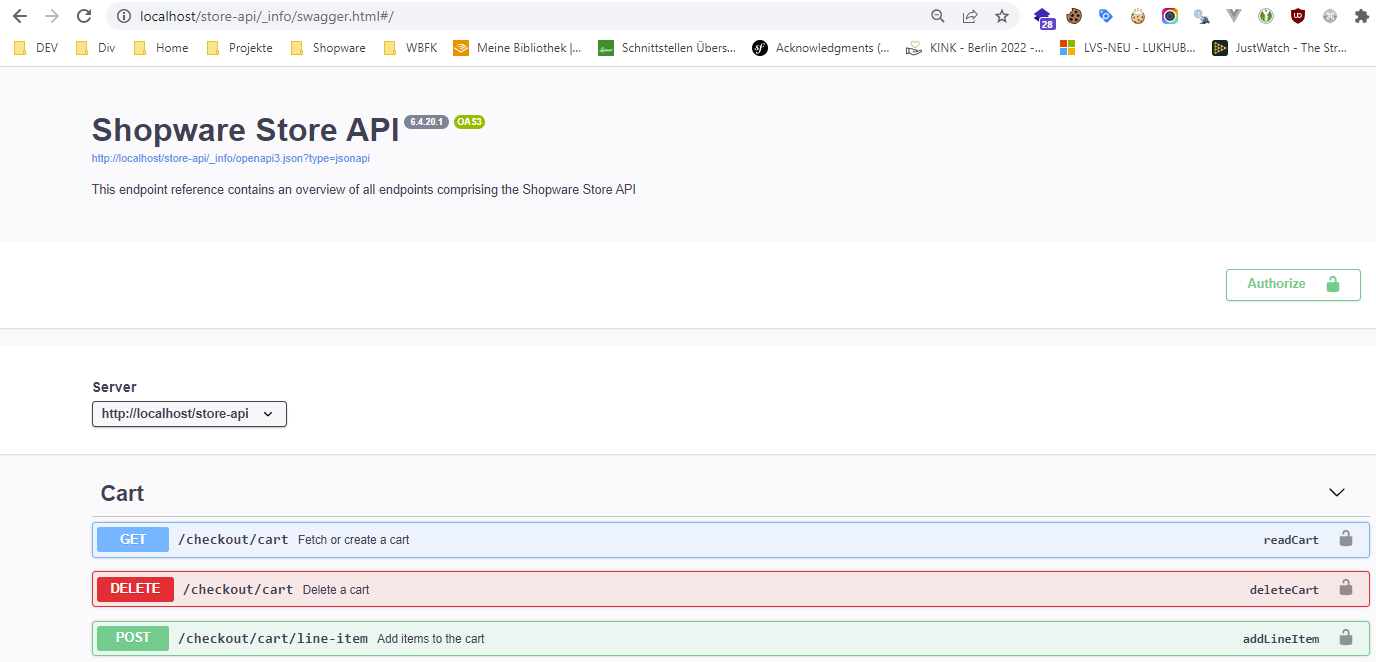
Go to Swagger - browse to localhost/store-api/_info/swagger.html. You will see a page similar to this one:
Try to execute a simple GET request - like the GET/sitemap request (spoiler alert: it will not work) by doing the following:
Press the “Try it out” button: 
Then execute the request by pressing the “Execute” button: 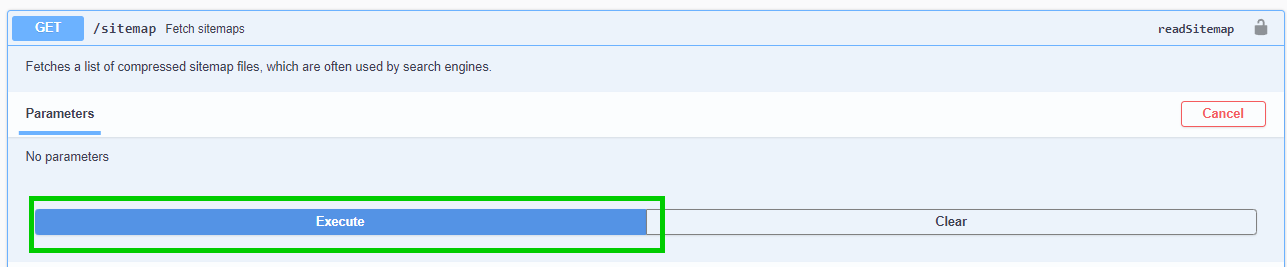
The response will be a 401 Unauthorized error: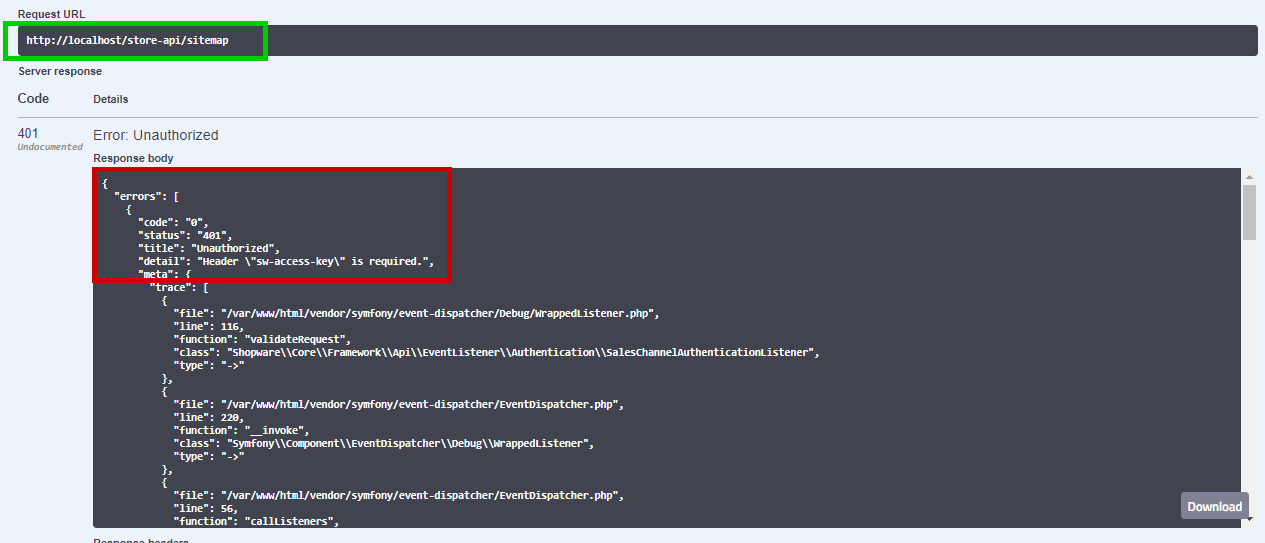
Scroll to the top of the page and press the “Authorize” button. 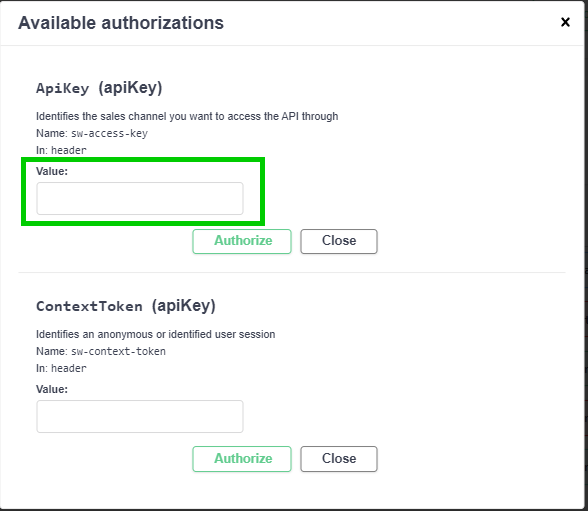
How do I get the sw-access key?
Log in to your administration at localhost/admin#/login (default user and password are: admin/shopware. However, you may have already set up another admin account) and copy the sw-access-key from the corresponding sales channel (the one you want to query via the API). 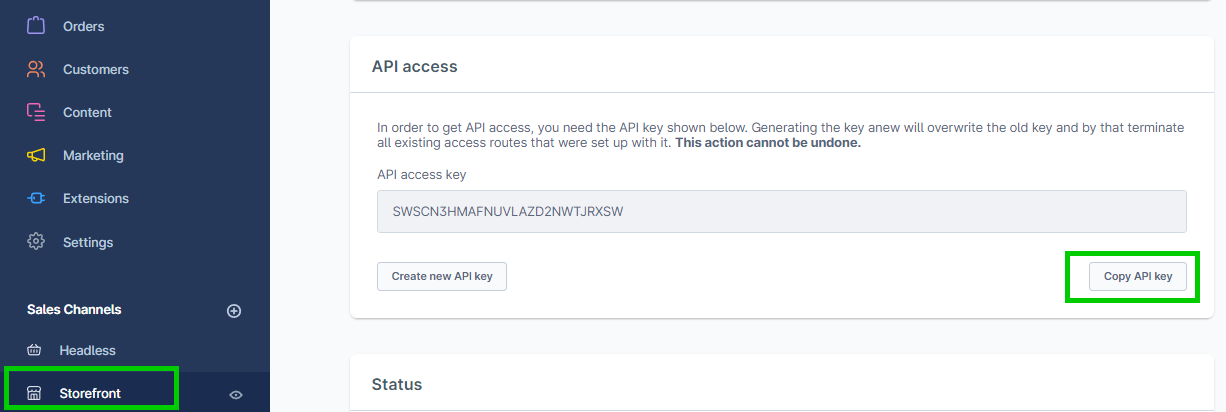
Now execute the GET/sitemap request again. The response will be more useful now. We receive a response code 200 and the path to the sitemap: 
If we want, we can download the sitemap with the returned path. It will look something like this: 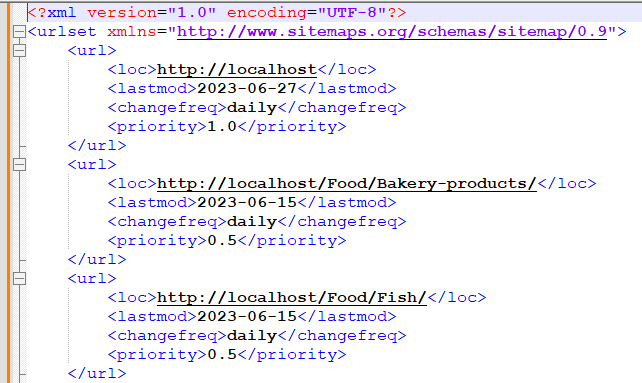
Congratulations, you are now able to successfully use the Swagger Store API in your local environment.
Summary of necessary steps to use Swagger
- Start local environment
- Browse to Swagger localhost/store-api/_info/swagger.html
- Get API token from administration localhost/admin
- Authorize Swagger against the according sales channel
- Use Swagger
Register a Customer and Login with Swagger
The GET/sitemap request was not very exciting, but it got us started. Let’s do something more fun. Create a user and log in the new user.
Prerequisite: Go to your “Administration → Settings → Login & Sign-up” and make sure the Double opt-in on sign-up is disabled for your sales channel:

POST/account/register
We will start with this workflow because it is simpler. Later we will cover the workflow when double opt-in is enabled. Ok - now that we have double opt-in disabled, let’s take a look at the POST/account/register request body.
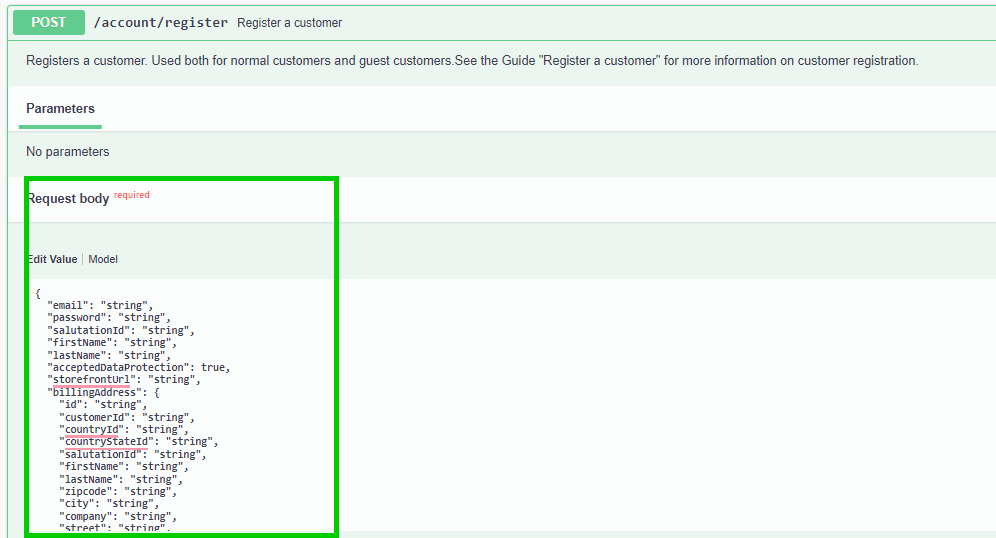
We can see that it is very long. It can take a lot of information. But we are going to try it with a simple request. So just copy and paste the following request body into your Swagger and hit the “Run” button (spoiler alert: the request will fail).
You will receive a 400 bad request error with the following details:

The good thing about this error message is that it tells us exactly what the problem is. The value for salutationId does not exist in your system. But why do we need this salutationID at all, and why can we not pass a string like “Mr.” to Shopware? Because this is what we want to do with this request. We want to create a new customer. Mr. Thomas Schiefer (<salutation> <firstname> <lastname>). There are two reasons for this:
- Shopware is a multilingual system. So what language of salutation should we provide? Mr (English), Herr (German), Senor (Spanish), …
- What if we change the salutation values in the future? The calling system would have to know which values are allowed.
So we just reference the according salutation by providing the salutationId. It becomes clearer when you look at the table for salutations directly:
You can see that the entries for Mr (English) and Herr (German) have the same salutationId, and other information such as the letter_name, which is used for greetings in emails, is also stored in this data structure.
So how do you get the correct value for salutationId when you call the POST/account/register endpoint? You could look in your local database, of course. But for calling systems in production, this is not an option. The easiest way to get all the salutation options is to go to localhost in your browser (spoiler alert: you will get an exception).
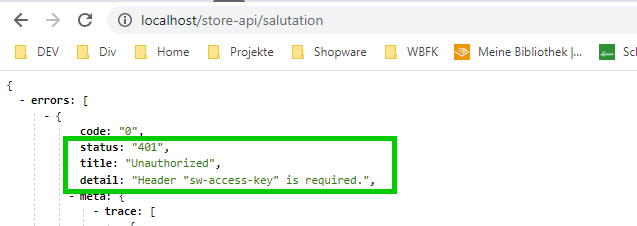
If you call localhost/store-api/salutation in your browser, you will get the following exception:
We already know this exception from Swagger, the sw-access-key is missing, but how to pass the sw-access-key in the request header? For Google Chrome we can install the ModHeader extension. This extension allows us to modify the request header and pass additional parameters like the sw-access-key: If you call localhost/store-api/salutation in your browser, you will get the following exception:
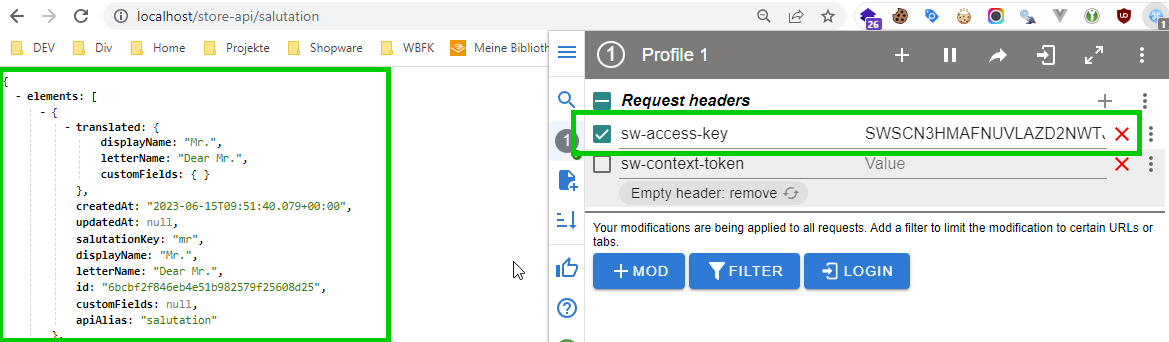
Once we put the sw-access-key parameter in ModHeader, we get a valid response containing all the salutations with their corresponding salutationIds from Shopware. Take the salutationId (in the response it is only called “id”) and copy it to your request body in POST/account/register.
You need to repeat this step to get the countryId.
Just go to localhost/store-api/country to get a list of countries and their ids.
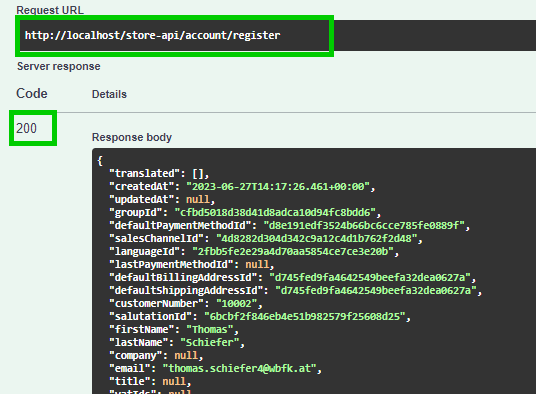
Now execute the POST/account/register request and you will receive a code 200 success response body similar to this one:
To make sure our customer now exists in Shopware, we can do the following:
- Open the administration and browse to customers:

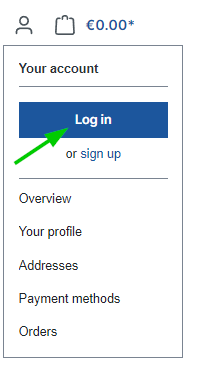
- Try to login at the storefront with the new customers credentials:
- Check the database table customer for a new entry:

POST/account/login
Let’s log in to Shopware using the POST/account/login endpoint. Open it in Swagger and modify the request body accordingly - with the user and password you set when you registered.

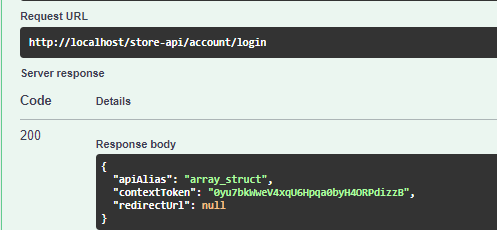
Then press the “Execute” button. You will receive a code 200 success message containing your contextToken:
Double opt-in workflow and differences to normal registration
Legal requirements often make it necessary to enforce a double opt-in workflow when a customer registers an account. To enable this feature in Shopware we go to “Settings → Log-in & sign-up” and toggle the according switch to on:

For each customer registration, Shopware now sends an email to the customer with a link that the customer must click to verify their account. Now when you register a customer using POST/account/register, Shopware will send the following email:

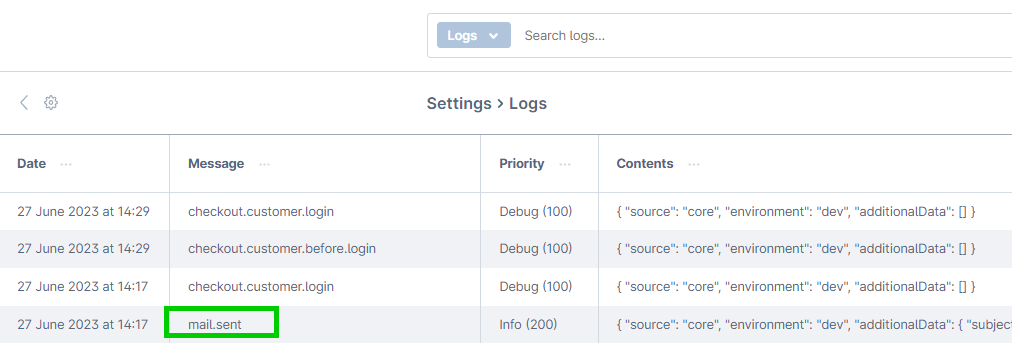
We can get the information about the sent mail in the logs. Go to “Settings → Logs” and check for mail.sent:
When analyzing the mail in more detail, we see the registration URL and its parameters:
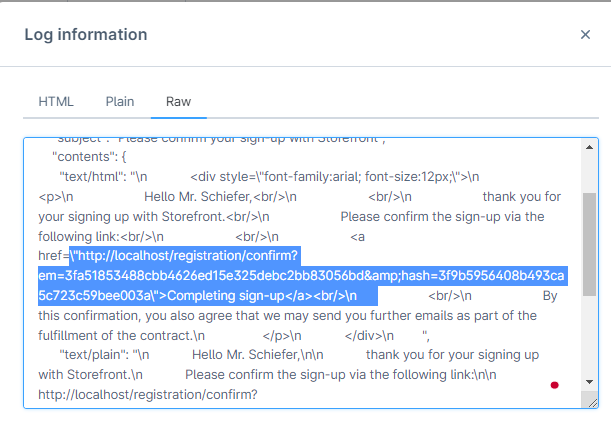
The parameters are:
- em=3fa51853488cbb4626ed15e325debc2bb83056bd
- hash=3f9b5956408b493ca5c723c59bee003a
When looking at the Shopware Store API we see the following endpoint - POST/account/register-confirm - which takes those parameters.
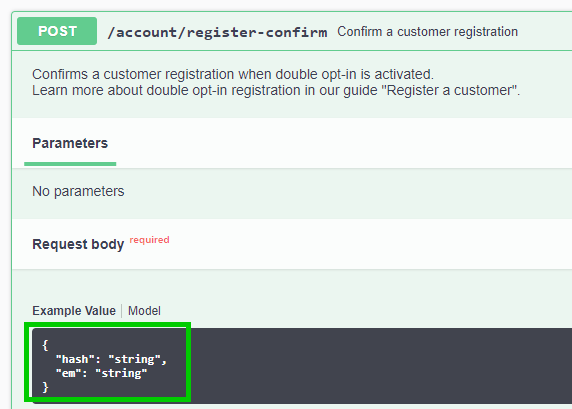
When an external system needs to call this endpoint, it needs the values for hash and em. Where do we get these values from?
As developers, we can look at the customer database table:

We see a column “hash” where for one row the hash value is filled in. This was a registration done with double opt-in = true. For the other customer registrations where we did not have double opt-in enabled, Shopware did not create a hash value.
As an external system, we cannot easily check the database. We see the POST/account/registration endpoint return the hash field, but unfortunately, it is empty. I guess this is for security reasons. If the hash were returned, it would be easy to create an account for a customer and immediately verify the account, making the double opt-in process kind of useless.
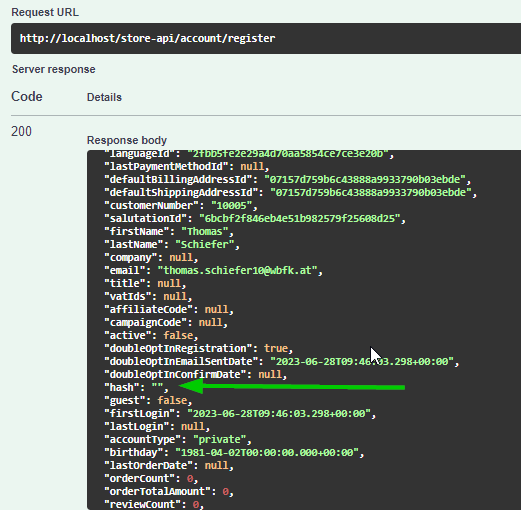
So how do we get the hash value? The response body contains the customer’s unique id:
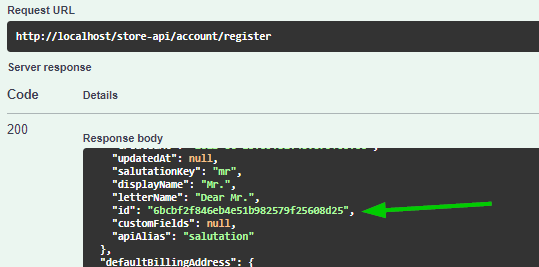
We can use this id to query the Admin API search Endpoint: POST/api/search/customer
The easiest way to query that endpoint is using Postman. A working Postman Collection and how to use it is provided and explained in the next blog post.
For now, just take the value for hash from the database. So we know the hash value but are still missing the em value. Actually, the em value is not stored in the database but calculated on the fly with a SHA1 algorithm.
We know this because we can take a look at the Shopware source code: RegisterConfirmRoute.php Line 78
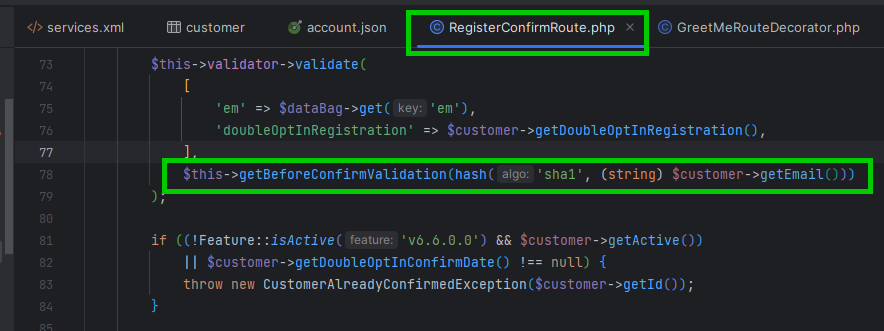
We see that em is calculated from the customer’s email address using a SHA1 algorithm. How did we find this piece of code?
Just hit search in your project and look for the /account/register-confirm endpoint, because that is also the name of the route:

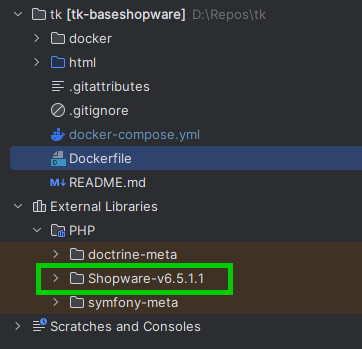
The search also looks through the Shopware source because we have included the Shopware source in our project:

Now that we know that em is calculated from the customer’s email with SHA1, let’s calculate it on sha1-online.com

Finally, we can execute the POST/account/register-confirm endpoint:
We get a 200 success code returned. And we can also check the customer table in the database, we now have a double_opt_in_confirm_date set for our customer:
In this blog article, we have covered how to register a customer through the Shopware Store API and log in to the customer. We have learned how to retrieve information such as salutations and country information. If you have any questions or comments, please feel free to contact us.
For how to use Postman to work with the Shopware Storefront API, keep continue reading the following blog post.
